Photo Gallery
Welcome to UO Home Decor
Welcome to the UO Home Decor Web site, where you get to learn a little more about me, what I do, why I do it, in some cases how I do it, and (most importantly) examples of my work. The links on the left are slowly being added to. Please check back and if you have any...
It’s been awfully quiet lately…
If you're thinking I haven't posted to the website or the Facebook page in quite some time, you'd be right. I haven't. Last post was well over a year ago. I never quite got around to updating things here so I figure now is as good a time as any to go ahead and get...
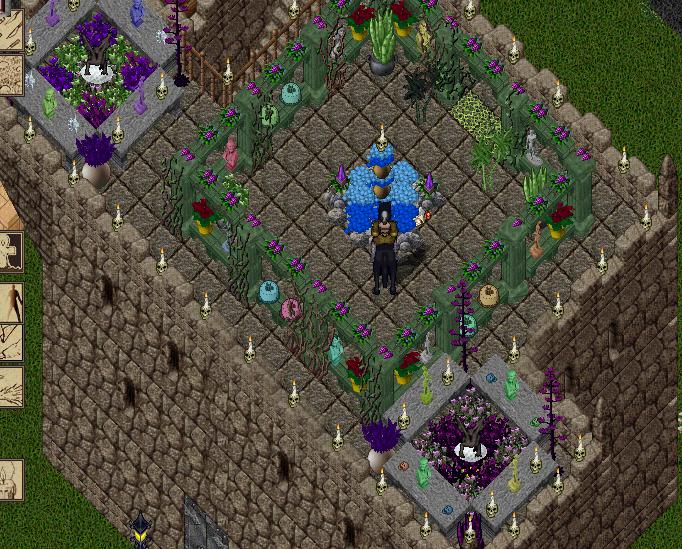
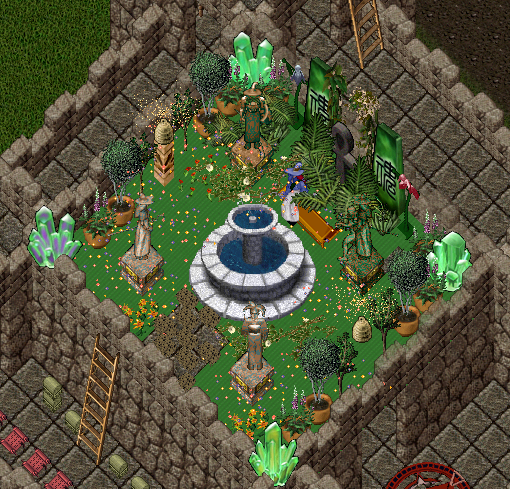
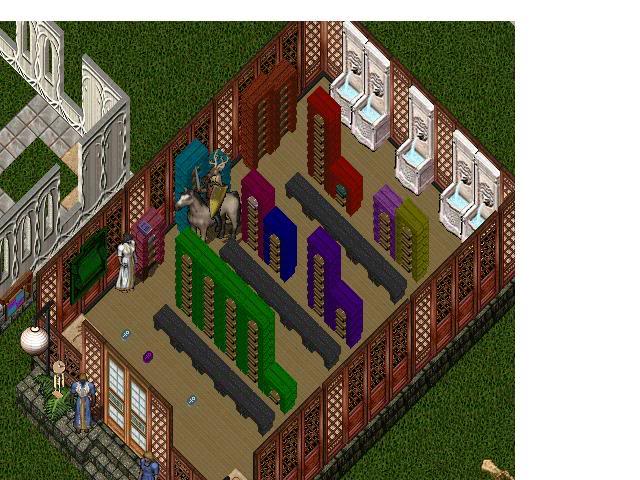
3rd and 4th Floor Castle Decorating Contest Entries
Below are the entries we received for the castle decorating contest. We received a total of 4 entries from 2 people. Winners will be announced later this week.
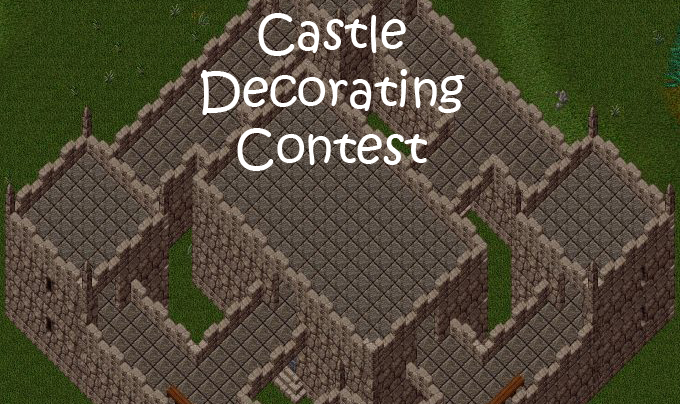
3rd and 4th Floor Castle Decorating Contest
With the introduction of custom tiles for castles and keeps and the ability to create third and fourth floors on castles and keeps, we bring to you a contest where you can design your own floor(s) for entry into this contest. This contest, sponsored by Lord Nabin, is...
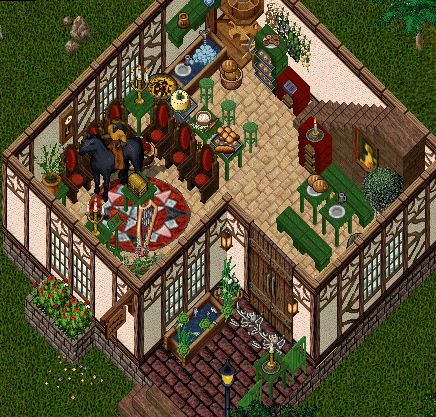
Home Tours: Lady Treasure Isle’s Shop (Photo Archive Edition)
Another set of homes archived before the images disappear off their servers or off UOForums. This is one of Lady Treasure Isle's many homes which will be featured over the next few Home Tour Features. She called this one a Shop, and it's easy to see why.
Home Tours: Lady Treasure Isle’s Villa (Photo Archive Edition)
Another set of homes archived before the images disappear off their servers or off UOForums. This is one of Lady Treasure Isle's many homes which will be featured over the next few Home Tour Features. This was a classic Villa. This is the last home, unless I find...
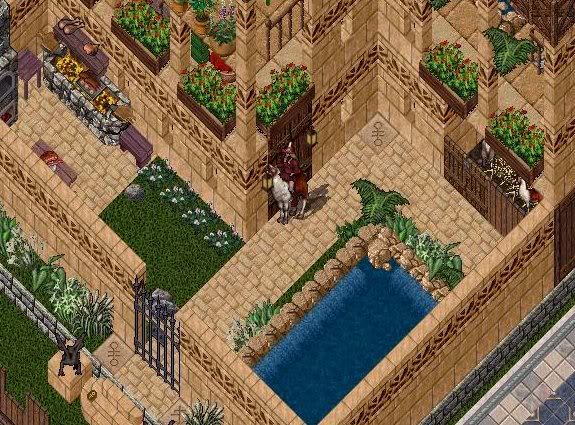
Home Tours: Lady Treasure Isle’s Outside (Photo Archive Edition)
Another set of homes archived before the images disappear off their servers or off UOForums. This is one of Lady Treasure Isle's many homes which will be featured over the next few Home Tour Features. This one didn't have a name and was just a singular picture. I...

Home Tours: Lady Treasure Isle’s Nursery (Photo Archive Edition)
Another set of homes archived before the images disappear off their servers or off UOForums. This is one of Lady Treasure Isle's many homes which will be featured over the next few Home Tour Features. She called this one a Nursery and looks to be a place to grow...
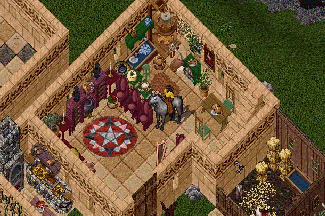
Home Tours: Lady Treasure Isle’s MM (Photo Archive Edition)
Another set of homes archived before the images disappear off their servers or off UOForums. This is one of Lady Treasure Isle's many homes which will be featured over the next few Home Tour Features. The files for this one were named MM. I'm not sure what that...

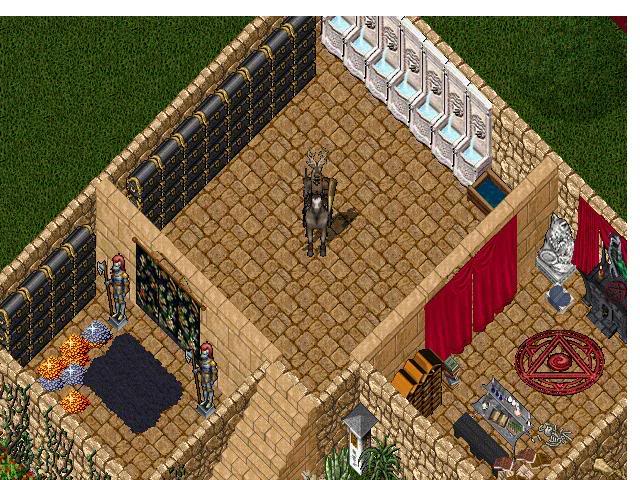
Home Tours: Lady Treasure Isle’s Mining Pyramid (Photo Archive Edition)
Another set of homes archived before the images disappear off their servers or off UOForums. This is one of Lady Treasure Isle's many homes which will be featured over the next few Home Tour Features. She called this one a Mining Inn. I call it the Mining Pyramid....
Home Tours: Lady Treasure Isle’s Manor (Photo Archive Edition)
Another set of homes archived before the images disappear off their servers or off UOForums. This is one of Lady Treasure Isle's many homes which will be featured over the next few Home Tour Features. She called this one a Manor.