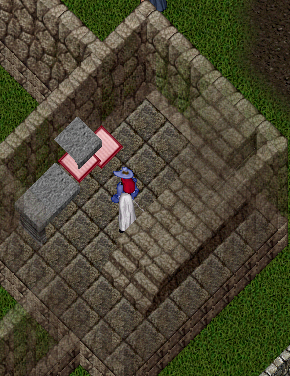
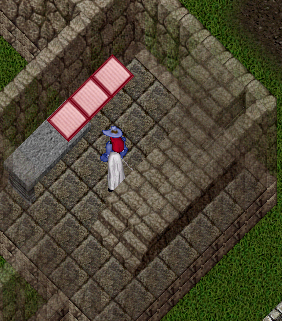
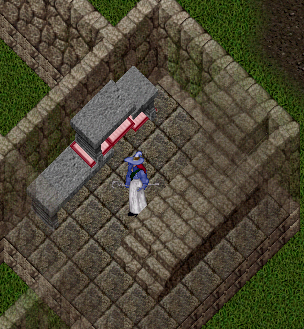
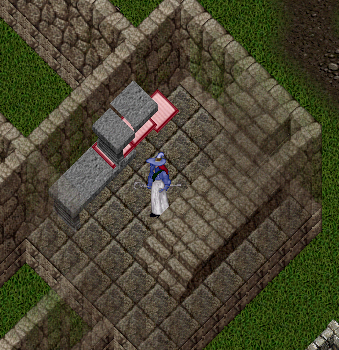
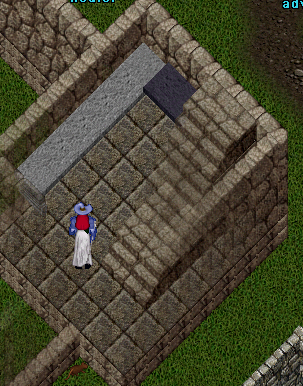
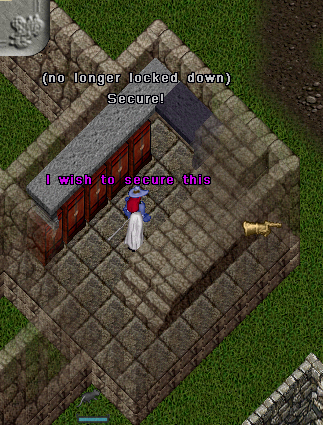
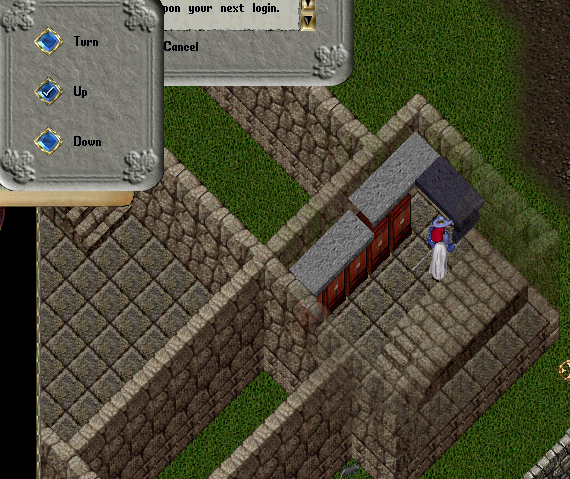
So I’ve seen this asked a few times and finally saw two requests on UOForums on how to do this, so I mined up enough (well almost enough) stone to do a tutorial in my keep.
This is instructions on how to create a granite counter top with cabinets beneath in an uncustomizable home. This was done for a Keep. So for a castle you will need more tables.
Items you need (for this exact room type):
- 1 Interior Decorator Tool
- 3 square gozas (at mimimum, you can do this with more if you want)
- 1 large table facing south (whatever color you want – might want 2 in case you mess up)
- 5 large tables facing east (whatever color you want – might want a few extras for errors)
- An Axe (for chopping the tables and gozas)
- 8 Cherry Armoires or whatever container type you want for the cabinents
- Extreme levels of patience
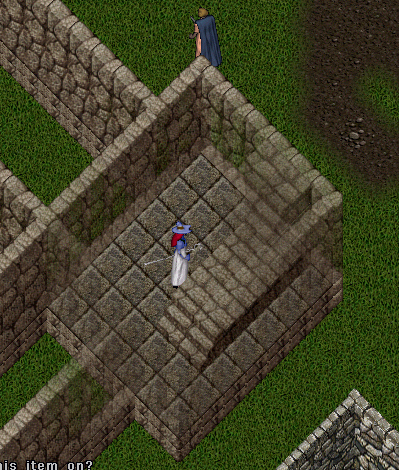
First we start off with a blank canvas. If you have anything in the room you want to work in, I advise removing it.
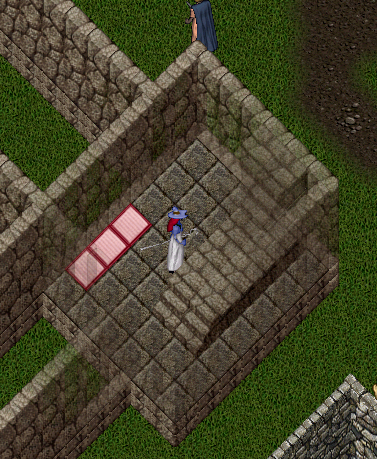
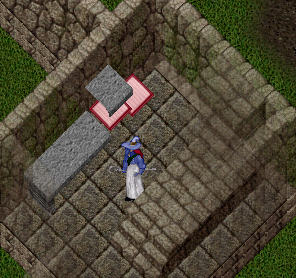
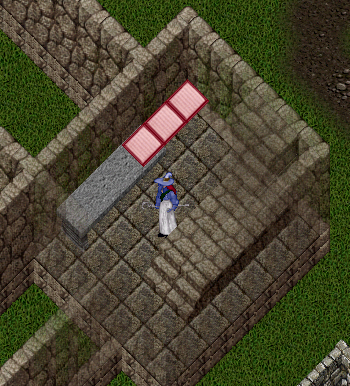
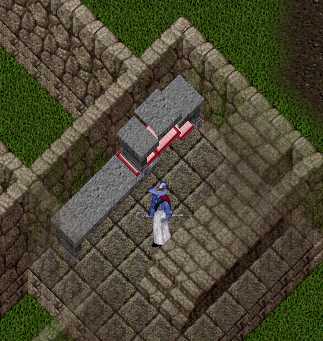
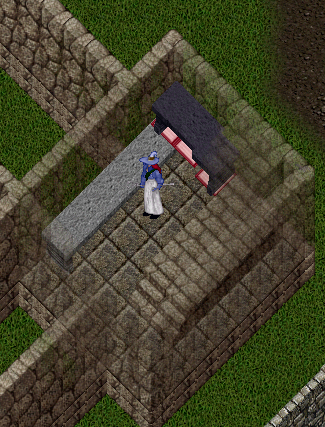
Then you place the three square gozas as seen in the image below. You can layout the whole work space where you want to place the tables if you want as it may make it easier to see what your layout is like, but it isn’t necessary.
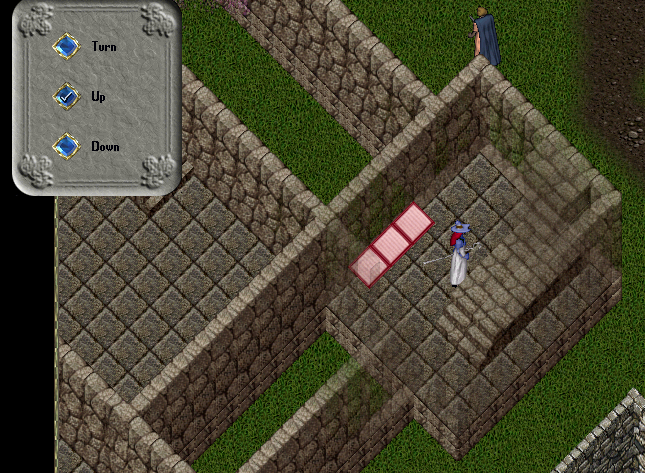
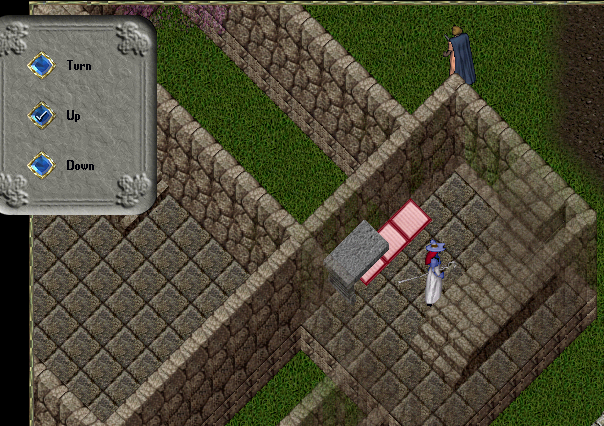
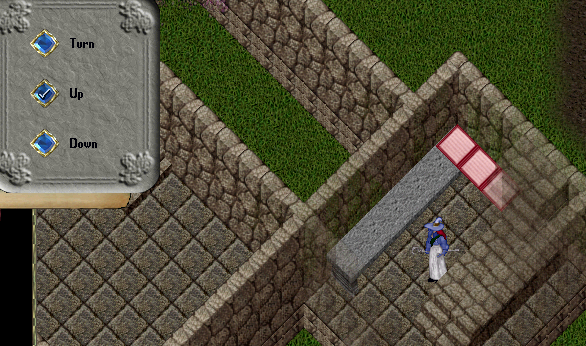
Once you have done this, double-click on the decorator tool. Select up if it is not already selected and move each goza up eight (8) times till it looks like the image below:
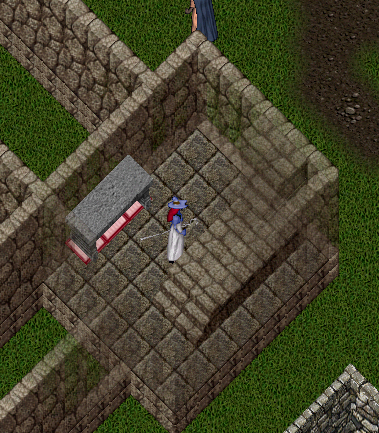
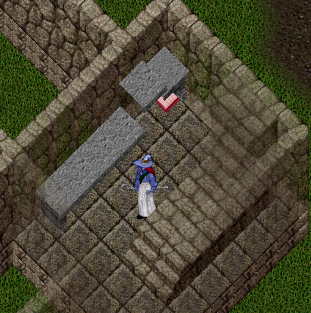
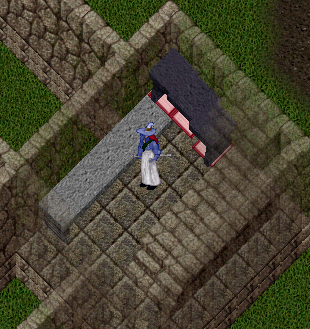
Place your table on top of the gozas. To do this, target the goza farthest from the corner goza. The table will place automatically on top like it appears below. DO NOT target the floor beneath. It won’t work right.
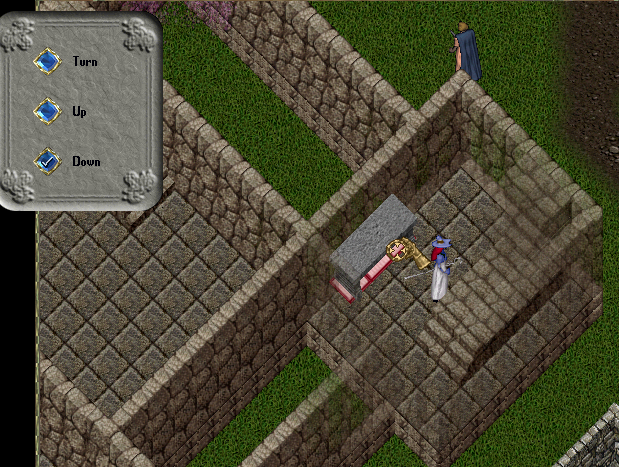
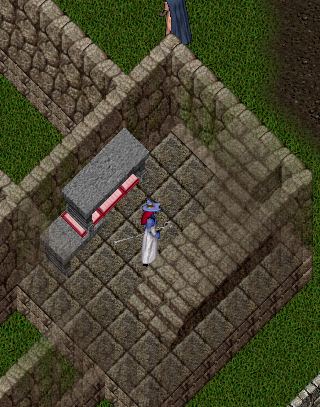
Double-click your deco tool. Be sure to set the tool to down. Target the goza beneath the table just like the image below.
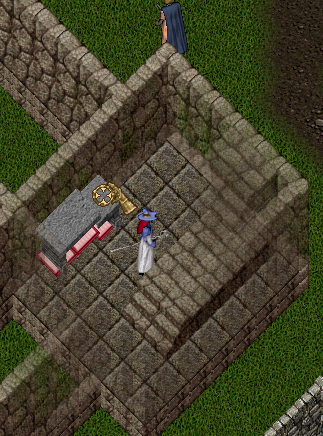
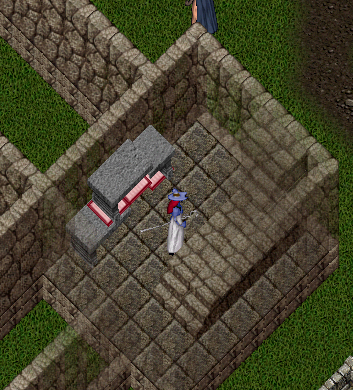
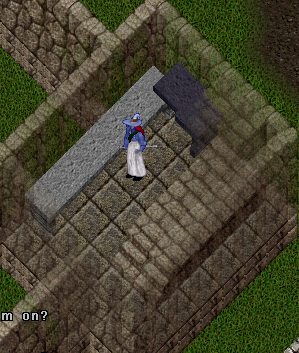
Move the goza down twice. It should break like below when it hits the second time down. If it doesn’t try a third time.
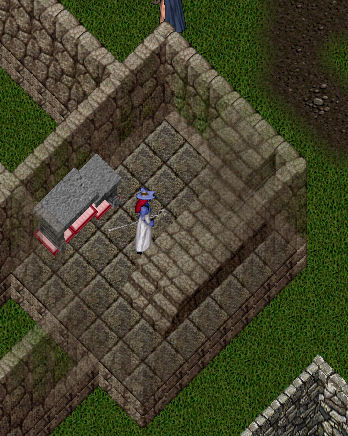
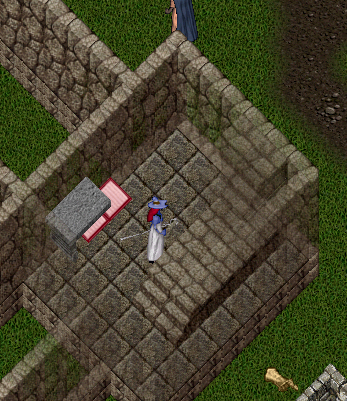
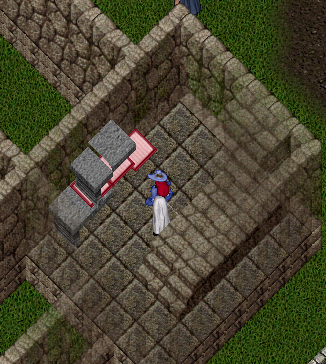
Double click your axe. Target the section of the table that is lower than the solid table. Click on the table. That section of the table will disappear.
After that, axe the goza in the corner. Be sure to target the goza only, not the table or you will lose the table in the corner.
Place the goza you just axed at the end of the gozas already there. raise it up to match the height of the others. Change the deco tool to go down, then target the table and make the table drop as far down as it will go. You may need to raise the gozas up two times after you move the tables down. If you don’t move them, up, you wont’ be able to place the next table.
Once raised, place the next table just like you did the first, except this time, it will overlap a section of your already broken table. If you get an error message stating that something is blocking placement, raise all the gozas by one and try again. Keep doing this till you can place.
Once again, target the goza at the end of the table and lower it twice, creating a break in the table as seen below.
Axe the broken part of the table, then, using the deco tool, select the other part of the table that has a table leg and select to move it down twice. It should look like this.
Axe the table leg so only the middle remains. Axe the goza. What is left is the table section below.
Lower the table section down below the gozas. Place the goza you just axed at the end, raise them all up just as was done in the step before.
Place the table on top, lower the goza beneath the table leg twice.
Axe the broken part of the table, then, using the deco tool, select the other part of the table that has a table leg and select to move it down twice. It should look like this.
Axe the table leg so only the middle remains. Axe the goza. What is left is the table section below.
Lower the table section down below the gozas. Place the goza you just axed at the end, raise them all up just as was done previous steps. Old hat now, right?
Place the table just like you did last time.
Once again, lower the goza in the corner by two which will break the table. However, DO NOT axe that table section this time.
Lower the table piece that is above the other table.
Axe the table piece and the goza on top of the table and underneath the middle section of table.
Lower both the middle section of table and the corner table with leg to the same height as the other tables. Place the gozas and raise them all up above the table so you can place the last table.
Place the table. As mentioned earlier, I ran out of stone, so used a table facing south that I had from the past to do this. I suggest using all one color table).
Lower the goza next to the stair case by two. DO NOT axe the corner table piece.
Raise up the table that’s in the corner above the other table corner.
Axe that table piece and the gozas beneath all of the tables.
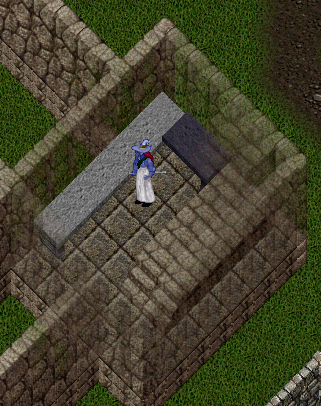
Lower the tables until the line up.
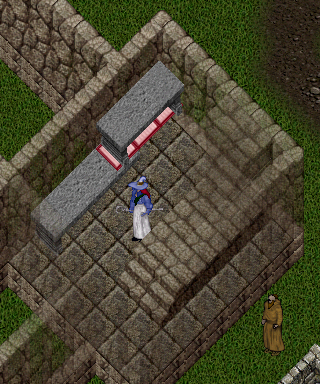
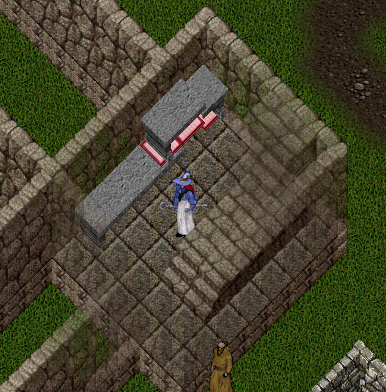
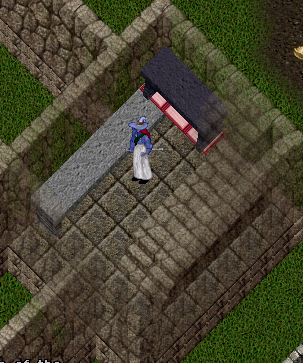
Raise all the tables up (the picture below wasn’t high enough, the following picture shows how high you have to be to put the storage underneath). You should probably raise them as high as it will let you go. Then you can place the boxes underneath (as seen further down).
Be sure before you log out for the night to lock down all the table pieces. It has been known in the past that if you do not lock them down the first night they will disappear at server up. You only have to lock down once, and it’s pretty quick and painless to do so.
After you put all the storage areas you want underneath the tables, lower the tables to where you want the counter top to be and you’re all set. I do advise that if you want items on top of the counters, place the items and lock them down before you put the boxes down as it can be difficult to place items on top of the counters after the storage containers are there. You will just have to adjust the height of the items on the Z axis once you move the tables to the proper spots.
Hope this works for you. If you have any questions, please leave a reply on this post on UOForums.

